How to prevent condensation in a tent: 7 practical tips
AI-assisted English translation of the German guide. Illustrative images are AI-generated, not product photos. Numerical claims from the original are contextualised, and safety advice has been clarified. We have not tested this equipment ourselves.
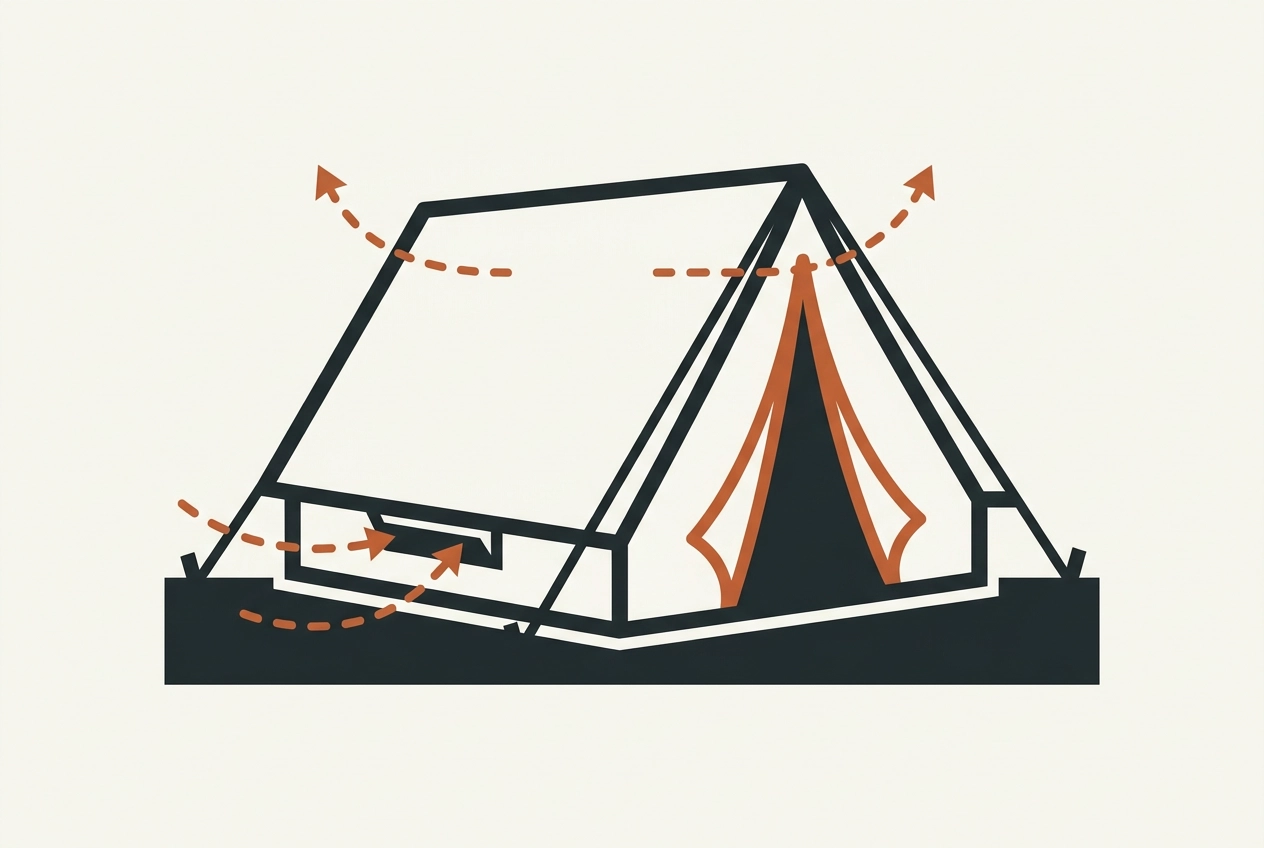
You wake up with sunlight coming through the tent. Everything feels fine until you sit up and cold water drips into your face. The tent wall is wet on the inside, and your first thought is: ‘Our tent is leaking!’ Don't panic: condensation is a common explanation, although leaks are also possible.
When several people breathe and perspire overnight, warm, moist air meets the cold tent fabric. That can leave sleeping bags damp, mats musty and everyone grumpy in the morning. These seven practical tips help you reduce condensation on your next festival or camping trip.
We'll explain why it happens, why waterproof doesn't mean breathable, and what to look for when buying a tent. No setup can guarantee completely dry walls in every weather condition, but sensible routines make a difference.
Tent wet inside? It may be condensation, not a leak
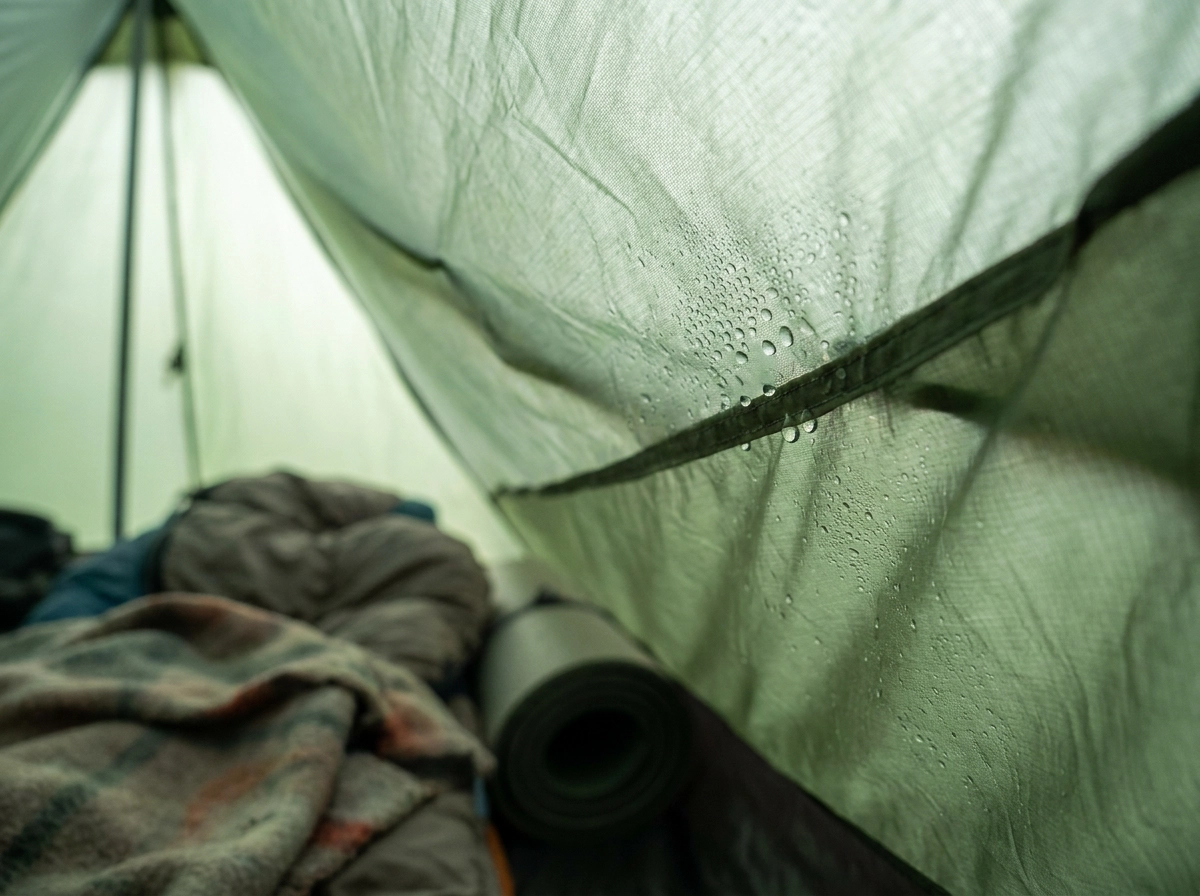
At six in the morning the tent wall sags and a drop lands on your face. Before blaming the seams or fabric, consider moisture from breath, perspiration, wet clothing and damp shoes. The German original gives an approximate moisture figure per person per night; actual amounts vary, so it should not be treated as a fixed planning value.
A small dome tent with several occupants can accumulate substantial moisture. Warm, humid air inside and cold fabric outside create ideal conditions for condensation, especially on chilly nights such as those described in our autumn camping guide.
A wet inner wall with a dry floor suggests condensation, but is not proof. Check seams, damaged fabric, rain entry and whether bedding is touching the flysheet before ruling out a leak.
Tent condensation: the physics in 60 seconds
Warm air can hold more water vapour before reaching saturation. When moist air cools to its dew point, water condenses on cold surfaces. In a tent, your breath contributes moisture and the cold fabric becomes a surface for droplets.
The roof and walls are often wettest in the morning. Temperature difference, humidity, ground moisture and the number of occupants all matter. Wet grass and low-lying pitches can make the problem worse. If you're new to camping, start with our beginner's camping guide.
Waterproof is not breathable: a common misconception
A high hydrostatic head describes resistance to water coming through the fabric. It does not tell you how well moisture escapes from inside. Waterproofing and breathability are different properties, and effective ventilation remains important.
A double-wall tent separates the inner tent from the flysheet. With a suitable air gap and open vents, air can circulate and droplets on the fly are less likely to touch your bedding. Condensation can still occur on the outer layer.
The key rule is to let moisture escape rather than trap it inside. Keep the manufacturer's vents functioning even when it is cold; use appropriate bedding to stay warm instead of sealing every opening.
7 practical tips to reduce condensation in a tent
You do not need expensive trekking equipment to improve your routine. A quick check before bed can reduce dampness and protect sleeping gear. For more on pitching and weather protection, see our camp equipment guide.
Tip 1: keep ventilation openings open
Leave roof and low-level vents open as instructed by the manufacturer. They allow moist air to escape and fresh air to circulate. Closing everything because you feel cold often increases condensation.
If you are chilly, a suitable sleeping bag and better insulation beneath you are more useful than shutting the vents. In hot or humid weather, manage shade and airflow for the conditions: closing all doors is not a universal solution. Keep ventilation available and protect openings from rain where the design allows.
Tip 2: protect the floor and insulate yourself from the ground
Use a suitable footprint or groundsheet to protect the tent floor and reduce contact with wet ground. It should fit beneath the flysheet without protruding, otherwise it can collect rainwater. A picnic blanket is not automatically a waterproof footprint.
Your sleeping mat provides insulation from the ground. Choose an appropriate R-value for the expected conditions; a footprint does not replace an insulating mat. Better ground insulation keeps you warmer, but does not guarantee less condensation on the walls. Compare suitable setups in Camp & Weather Protection.
Tip 3: keep wet clothing and shoes out of the inner tent
Soaked rain jackets, shoes and towels release moisture as they dry. Store them in the vestibule where appropriate or temporarily in a waterproof bag, away from sleeping gear and ventilation openings. A simple crew rule such as ‘shoes stay in the vestibule’ works better than repacking in the dark.
The same applies to damp seat pads, towels and rubbish bags. Dry wet items outside when conditions allow; do not leave them sealed in a bag for prolonged storage. Persistent dampness can encourage mould (German Environment Agency guidance, in German).
Tip 4: never cook or heat inside the tent
Cooking adds steam, but the more serious risks are fire and carbon monoxide. Camping stoves must never be used for cooking or heating inside sleeping tents, including their vestibules. An open door does not make this safe.
If it rains, use a suitable outdoor cooking area with safe clearances and ventilation, following the stove manufacturer's instructions and campsite rules. A closed gazebo is not a safe alternative. See this carbon monoxide warning (in German) and our camping gas stove guide.
Tip 5: pitch tautly and keep the tent layers apart
Follow the pitching instructions and maintain the intended gap between inner tent and flysheet. When the layers touch, droplets can transfer to the inner and airflow is reduced. Keep bedding and luggage away from the walls.
Check pegs, pole alignment and guy lines after wind or rain, when fabric and tension may change. Use the designed attachment points rather than pulling the fabric excessively tight. The air gap helps separate condensation from occupants; it is not a substitute for a warm sleeping setup.
Tip 6: wipe away droplets in the morning
Even a well-pitched tent can be damp inside. Gently wipe accessible droplets with an absorbent cloth before they run onto your bedding or luggage. Avoid pressing the inner against a wet flysheet.
Wring the cloth out outside and let it dry away from the sleeping area. Then ventilate and dry the tent as conditions allow. Repeating a quick wipe can be more useful than waiting while water drips onto your gear.
Tip 7: use silica gel only as a limited extra
Small silica-gel sachets can help protect items in a small enclosed storage space, but should not be expected to noticeably dehumidify an occupied, ventilated tent. The original article presents dehumidifier cushions as a stronger remedy; ventilation and keeping wet gear outside are the more dependable priorities.
If you use a desiccant product, follow its placement and handling instructions, keep it away from children and pets, and regenerate or replace it as directed. Protect against spills from moisture-collecting containers. It cannot replace ventilation, drying or suitable pitching.
What to look for when buying a tent and sleeping mat
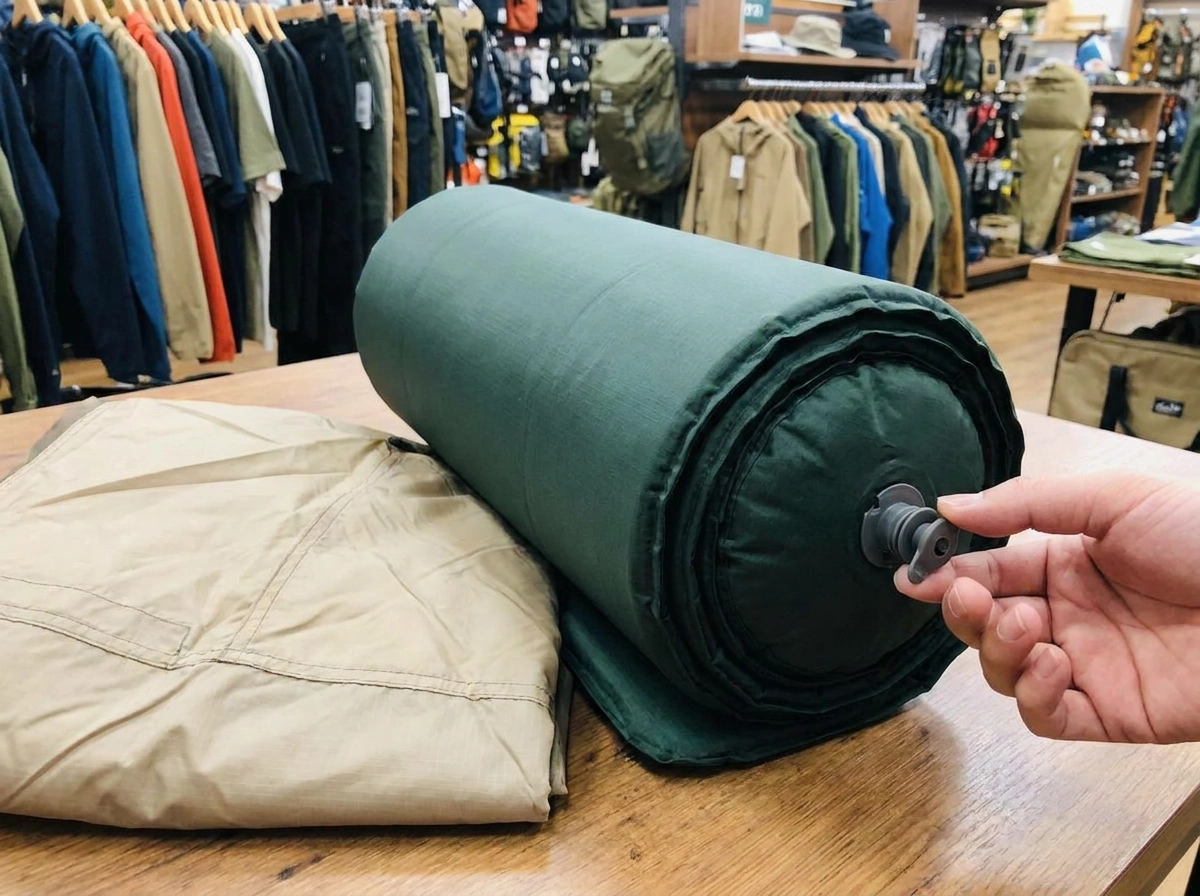
Moisture management starts with a suitable design and setup, not just a high waterproof rating. Consider these points before buying:
Double-wall or single-wall: a double-wall design separates wet flysheet fabric from the sleeping compartment. Single-wall designs need careful ventilation too; price alone does not determine condensation performance.
Ventilation: look for well-positioned high and low vents, rain protection and openings you can adjust without blocking airflow.
Hydrostatic head: this indicates water resistance, not breathability. Seams, floor construction, pitching and ventilation also matter.
Sleeping mat: compare an R-value tested to ASTM F3340 and choose insulation for the ground and expected night conditions.
Crew space: check usable floor dimensions with your mats and luggage. More room helps keep bedding off the walls but does not remove the moisture occupants produce.
Robust construction: suitable poles, secure guying and usable vents matter more than a high-end label. Follow weather warnings; tents and gazebos are not reliable storm shelters.
Conclusion: protect your sleeping gear with simple routines
New equipment is not always the answer. Much of the moisture comes from the occupants and their wet gear, so routines are the first thing to change. For your next weekend:
Keep ventilation openings available, even on cold nights.
Move wet clothing and shoes away from the inner tent and dry them when possible.
Use a correctly sized footprint and a sleeping mat with suitable insulation.
Maintain the gap between tent layers and keep bedding away from the walls.
Wipe droplets when needed, then ventilate and dry the tent. Always cook outside.
These steps reduce avoidable dampness rather than guarantee dry walls. Dry the tent fully before long-term storage, and investigate possible leaks if water keeps entering in a particular spot.
Related camping guides
- Tent ventilation, sleeping mats and weather protection — choose a suitable sleeping setup and keep the tent layers apart.
- Festival camping packing list — pack dry bags, spare clothing and a cloth for morning condensation.
- Outdoor cooking and festival recipes — plan a camp kitchen away from sleeping tents.