Group Camp Layout: Sleeping, Kitchen, Power, Chill-out
Share this article
AI-assisted English translation of the German guide. Illustrative images are AI-generated, not product photos. Numerical claims from the original are contextualised, and safety advice has been clarified. We have not tested this equipment ourselves.
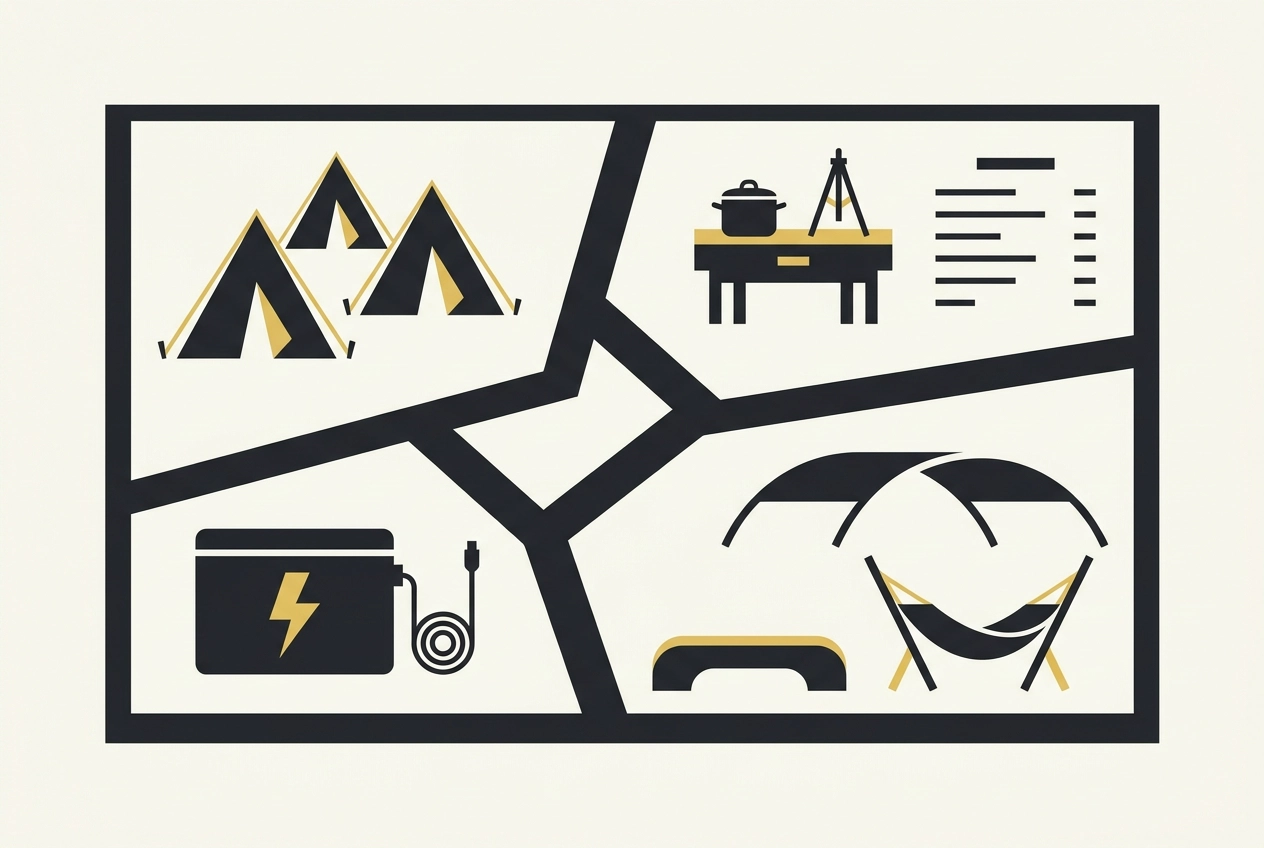
Hand on heart: anyone who's ever headed to a festival with a whole crew knows the sheer chaos. It's not the gear that's to blame, but the space. Tents cluster together in a jumble, cooking gear gets in the way, power cables become trip hazards, and someone ends up sleeping right next to a frying pan. Sounds funny, but by day two it's just plain annoying.
Yet the solution is as simple as a solid plan: before you buy a single tent pole or camping stove, divide your festival pitch into four zones. Sleeping rows, a cooking and cooling zone with wind protection, a power hub along the walkway, and a shaded chill-out area. Add clear paths that are wide enough and free of criss-crossing guy ropes. It might sound like camping by spreadsheet, but it feels like the ultimate holiday camping with friends.
In this guide, we'll first look at why your site layout comes before the shopping list, and what to check on the festival map and campsite rules. Then we'll go zone by zone, sort out your walkways, work out the right gear, and highlight the typical mistakes that ruin a festival camp setup. In the end, you'll pack fewer, larger items instead of heaps of small bits. Promise: zones first, shopping second. That's how your group camp layout stays relaxed, safe, and leaves you with more time for what really matters.
Why the site layout comes before the shopping list
Four people, four tents, three gazebos and six cool boxes on one single pitch. That inevitably ends in a tangled mess of tents, and it's almost never the gear's fault, but the space. Sound familiar? Then flip the script: plan your zones first, hit the shops second.
If you decide in advance where everyone sleeps, cooks, charges up and chills, your shopping becomes far more targeted: separate sleeping rows, a cooking and cooling zone, a power hub by the path, and a shaded hangout spot.
Our golden rule from years in the field: go for fewer, larger items rather than heaps of separate bits. One large group tent beats four small individual ones, and one proper gazebo beats three flimsy half-measures.
If you're starting from scratch, our Camping for Beginners: The Complete Practical Guide will help you master the basics.
One quick thing to bear in mind: this four-zone concept is our practical recommendation, not a set of legal bylaws. Every festival organiser sets their own rules, so always read the campsite regulations first. And that's precisely where we'll start.
Preparation: check the site map and campsite rules
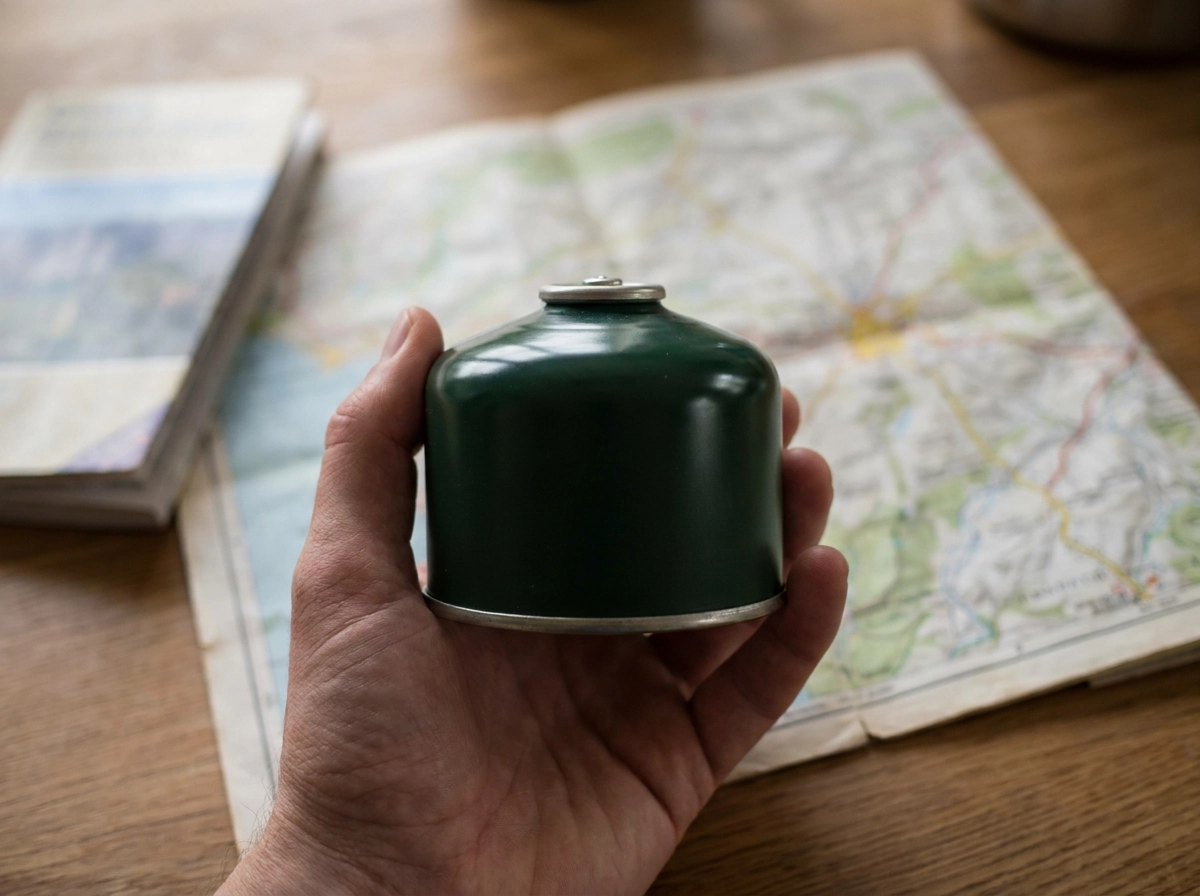
Before you map out your zones and walkways, get the hard facts straight. Ask the organiser whether gas stoves are permitted. Many festivals ban them entirely or only allow them in designated areas. Fireworks and open fires are usually strictly forbidden by organisers. Knowing this in advance lets you plan your cooking and lighting accordingly.
Next: go through the site map and campsite rules. Where are the toilets, water points, rubbish bins and emergency exits? Where are you allowed to cook, and where is the nearest fire extinguisher? On standard campsites, firebreaks must be at least 5 m wide and positioned every ten pitches, with access roads at least 5.5 m wide (Fire Safety Guidance for Campsites, Eichsfeld District). Festival pitches often have tighter dimensions, but the underlying logic remains: always keep emergency routes clear.
Pitch sizes vary considerably: 60 to 70 m² on standard campsites, 100 m² under the Brandenburg Campsite Ordinance, and 120 m² with a car. Roughly calculate the area per person before rushing out to buy a gazebo.
Zone 1: Sleeping rows instead of a tent tangle
Site map and camping rules all checked? Then it's time to tackle Zone 1: the sleeping rows.
Set up your tents in rows, facing the same direction, with doors opening towards the centre of camp. That way, you leave clear, walkable corridors between rows instead of turning everything into an impassable tangle.
Leave anywhere between a hand's width and a metre between tents. That's a rule of thumb based on experience, not a rigid law. The principle behind it: guy ropes must stay clearly visible so you can walk through without tripping. A single tent for three to four people easily beats four separate one-man tents, as you have far fewer walls, pegs and ropes cluttering the ground.
Keep the wind in mind: don't pitch your sleeping rows directly downwind of the kitchen or chill-out area; instead, use a gazebo, your car or a hedge as a buffer. Run guy ropes along the walkways, never across them. Cover your pegs or mark them with glow-in-the-dark tape, otherwise someone is guaranteed to take a tumble at night. To keep nights cosy whatever the weather, check out our tips on autumn camping: what matters for unforgettable nights under canvas.
Zone 2: Cooking and cooling zone with wind protection
Tents pitched? Then let's move on to the most hazardous part of any camp: the cooking area.
The cooking and cooling zone belongs on the edge of camp, facing the main walkway and kept well clear of the sleeping rows. That keeps heat, food smells and spitting grease well away from the tents. Never use a stove inside an enclosed tent; set it up in the porch or outdoors on a flat, stable surface, away from tent fabric and guy ropes. This is precisely what the Belgian Fire Safety Campaign recommends in its general safety guidelines.
Store gas canisters upright, well ventilated, and out of direct sunlight—never leave them sealed inside transport cases. If a fire breaks out: shut the valve, don't try to douse a gas flame with water. Still keep water handy nearby to cool any accidental burns.
A windbreak is an absolute must in the cooking zone: a gazebo side panel, a folding windshield, or a sturdy storage crate. Never seal the space off completely; always ensure plenty of airflow.
Place cool boxes right next to the stove, but keep them in the shade—under the gazebo or covered with a blanket. Plan ahead for buying top-up ice. Group things logically: cooking, prep surface and rubbish bin side by side for shorter distances and less running around. And if you run out of inspiration after day three, our simple festival food ideas without fridge stress have got you covered.
Zone 3: A power hub along the walkway
From the kitchen, shift your gaze towards the main pathway—because that's exactly where Zone 3 belongs.
One hub instead of ten cable reels: One power station paired with a multi-socket extension lead, set up in a dedicated spot along the main walkway rather than in the middle of where people sleep. That gives the crew a single charging point instead of a rat's nest of cables. It's well worth researching what capacity, wattage and solar panel setup suit your trip beforehand.
Cables that won't trip anyone up: Run cables beneath the gazebo or along tent walls wherever possible; the golden rule is never across paths, and always mechanically protected. On official campsites, tent circuits are governed by standard E DIN VDE 0100-708, which specifies insulation and mechanical protection for electrical wiring. The very same logic applies inside your own camp.
Phones and lights don't need long trailing leads: simply keep battery lamps and personal power banks inside the tents.
Advertisement · See outdoor extension cables on Amazon* Compare size, weight and reviews, and check the model suits your crew and your trip. *Affiliate link to Amazon search results: As an Amazon Associate we earn from qualifying purchases.
Under cover, into the sun: The power station sits under the gazebo, dry yet with plenty of ventilation. Position solar panels during the day and don't wedge them between tents.
If the crew needs more juice, check with a steward to see how the pitch is supplied. The zone plan only dictates where the hub goes, not how many amps are delivered. So that's the power sorted; now all that's missing is some shade.
Zone 4: The shady chillout area
Power is set up, now you need a spot to hang out: the chillout zone. And that requires a bit of thought.
Plan for shade first, not as an afterthought. A gazebo or sun shade belongs in the centre of your festival camp setup, right where everyone naturally gathers, not pushed to the edge where nobody wants to sit. Think about wind and shade together: a gazebo can act as a windbreak, but only if it's angled so your communal space isn't caught in a draught between two rows of tents.
When it comes to seating, the same rule applies as everywhere else when camping with friends: fewer items, bigger sizes. One large bench, a picnic blanket, and two or three folding chairs are plenty. Ten individual camp chairs eat up far more space than a bench and just get in each other's way.
The lounge area doubles as a meeting hub and a rain shelter. So bring a groundsheet, and don't leave anything out that could blow away in a gust. Keep chairs and tables clear of the walkway; the chillout area should sit at the end of the path, not right in the middle.
That keeps the walkway clear, which brings us nicely to the next point.
Walkways: wide enough, clear, and free from guy ropes
Before you set up folding chairs in the path: the walkway isn't leftover space, it's the backbone of your group camp layout. Our rule of thumb for the main thoroughfare from the access road towards the loos and water point is 1.5 to 2 metres wide. Anything narrower is bound to get blocked, especially at night with three people and a single head torch.
Standard campsite guidelines (5m fire lanes, 5.5m vehicle access, fire extinguishers within 40m) apply to official campsites, but we apply that same clear-path logic to our festival pitch. Festival pitches are generally smaller, but in our experience, keeping emergency escape routes clear is just as vital. While some regional camping regulations have been relaxed over time, keeping rescue paths unobstructed remains mandatory. Check your festival's camping guidelines for their exact rules.
So never run guy ropes straight across the path; peg them down along the edges, mark them with hi-vis or glow tape, and cover your pegs. Form your walkways using tent walls: keep the cooking station and power hub right alongside the path, with sleeping rows behind them. That way, everyone can find their way to the water tap at night without running a slalom course.
From zones to kit: fewer items, bigger sizes
Once the main path is laid out, treat it like packing a suitcase: compartments first, contents second. The four zones turn into four neat shopping lists instead of one chaotic, never-ending pile.
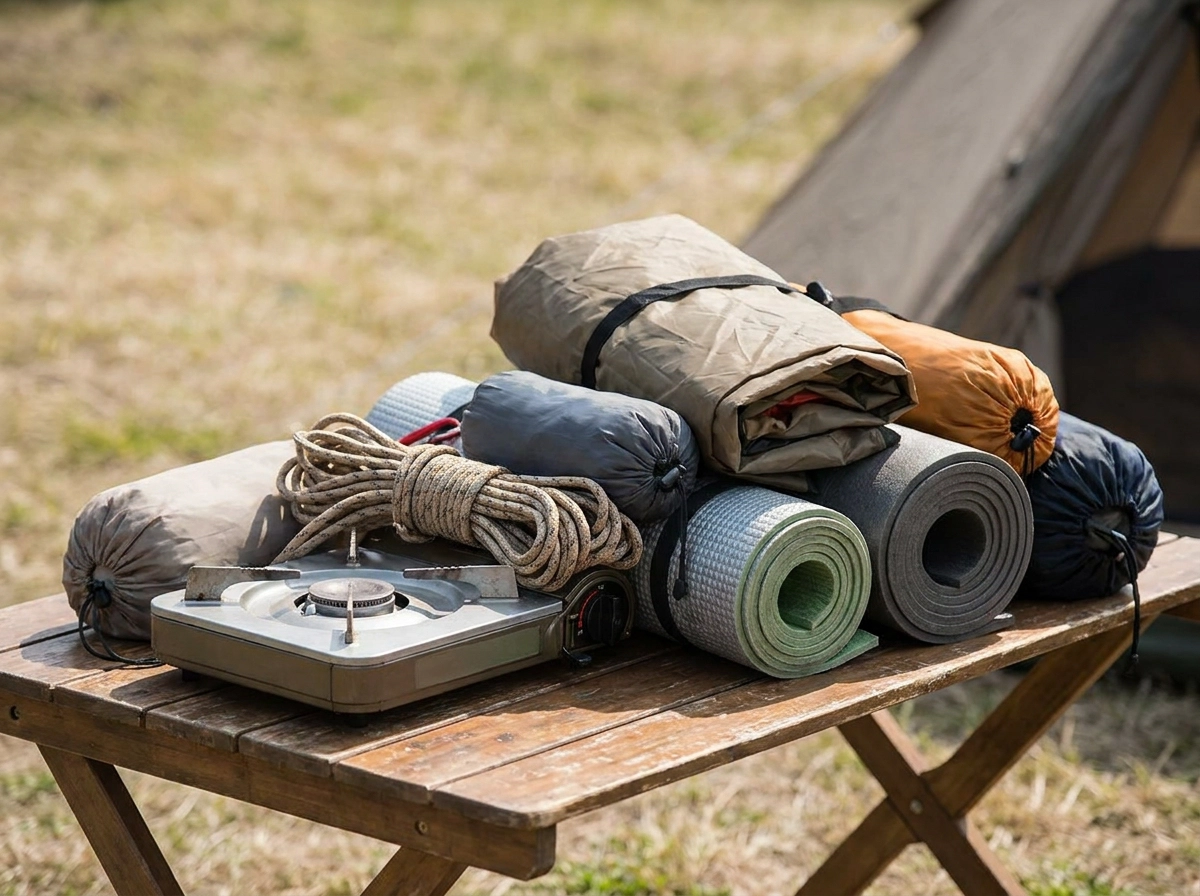
Sleeping zone: one group tent, one groundsheet, marking tape. One tent instead of four means fewer pegs and far fewer guy ropes for people to trip over in the dark.
Cooking and cooling zone: folding table, windscreen, camping stove plus gas canisters, one large cool box instead of three small ones, plus a bin bag holder.
Power hub: one power station, an extension lead, a cable bridge or rubber mat, and festoon lights instead of five separate lanterns.
Chillout area: one gazebo, a bench, a groundsheet. Job done.
Shopping rule of thumb: if an item doesn't belong to a zone, leave it at home. Buying fewer, larger items means less gear to haul, a faster pitch time, and fewer arguments.
Common mistakes that wreck your camp layout
Sounds straightforward, doesn't it? Yet in practice, most crews still trip up over the same five mistakes.
1. Buying first, planning second. Gear before gear layout will come back to bite you the moment you start pitching. Flip the order: zones first, kit second.
2. Letting zones overlap. Stoves inside sleeping tents, cables trailing across the camp, cool boxes sitting in baking direct sun. That's precisely where the chaos starts, which everyone then blames on the gear. Really, it's the pitch layout that failed, not the equipment.
3. Leaving no spare border. If you build right up to the boundary pegs, you won't have room on day two for a latecomer's pop-up tent or a barbecue. Always leave a buffer zone, at least the size of an extra tent.
4. Ignoring gas regulations. Check the gas rules in advance; your festival camping guidelines will specify what's permitted.
5. Dodgy DIY electrics. Trailing cables across the path, cable reels left out in the rain. When in doubt, stick to power banks rather than a bird's nest of wiring. Cables belong around the perimeter or tucked under the gazebo.
Notice a pattern? All five mistakes happen before you even start pitching. That's exactly why planning your zones pays off.
Summary: zones first, pack second
Just switch your mindset: nail down your zones before opening shopping tabs. And remember: the festival organiser's site map and camping rules always trump any tip in this guide. Spending five minutes reading the rules beats two hours of repitching every time.
Once your zones are set, your kit list writes itself.
Read next: Solar or a bigger battery? The honest camping calculation
Here's a quick pre-departure checklist: main walkway clear? Stove safely outside the tent? No cables across the path? Gazebo set for shade? If that's four yeses, your festival camp setup is ready to roll. Bring on the festival!
Related camping guides
- Sleeping equipment and protection from wind and rain — match your sleeping setup to night-time temperatures and keep clothing and bedding dry.
- Rain and mud camping packing list — prepare waterproof layers, spare clothing and equipment for wet ground.
- Head torches, camp lighting and off-grid charging — compare lighting options for longer autumn evenings; treat solar charging as a weather-dependent supplement.
- Simple hot meals for chilly camping days — find one-pot recipes and food that keeps without a fridge.